Learn avalanche beacon basics: 457 kHz transceivers, essential rescue gear, trailhead checks, interference and companion-rescue practice.
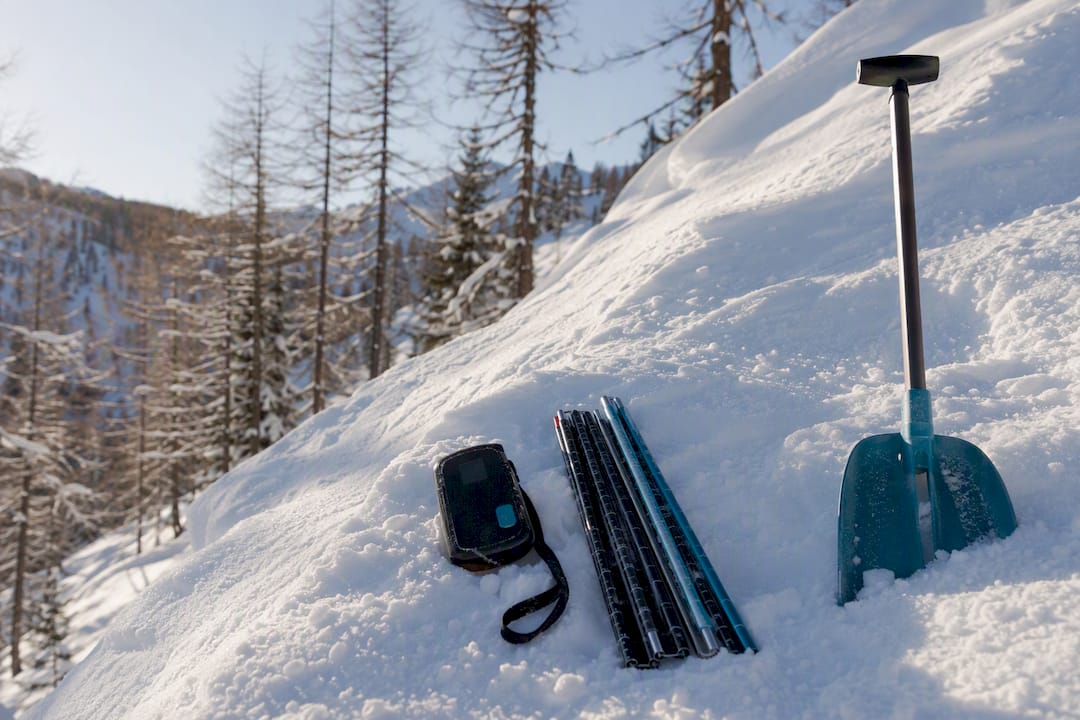
An avalanche beacon—more accurately called an avalanche transceiver—is a companion-rescue tool, not a substitute for avalanche education, terrain judgement or a careful plan. It sends a signal that companions can search for after a burial. For the system to work, every member of the group needs a transceiver, probe and shovel, along with the ability to use all three.
These avalanche beacon basics explain how the equipment works, how to carry it and what a practised companion rescue involves. Beacon rescue is time-critical and complex, so take a recognised hands-on course and follow the instructions for your own device before entering avalanche terrain.
What an avalanche beacon is
Modern avalanche transceivers transmit and receive on the international 457 kHz standard. In transmit mode, the unit sends a signal while you travel. In search mode, it receives another transceiver’s signal and guides the rescuer with distance and direction information.
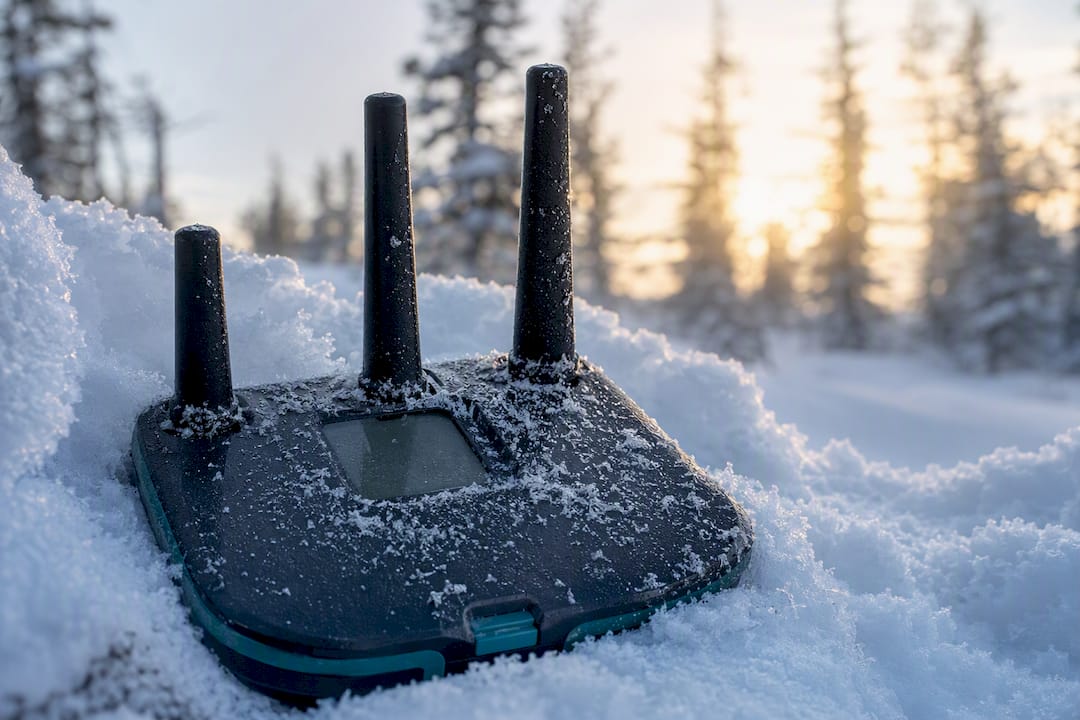
Many current digital models use three antennas and provide directional guidance. For a first transceiver, a current three-antenna model with controls you can operate confidently is a sensible choice. Read the manufacturer manual closely: battery type, operating limits, inspection and retirement guidance are specific to each model.
For a broader technical overview, see 457 kHz frequency. If you are comparing models, REI's guidance on avalanche gear offers a useful consumer-oriented introduction, but it should not replace the instructions supplied with your own transceiver.
What to carry with a beacon
A transceiver identifies an approximate burial location; it does not pinpoint a person beneath the snow or remove the snow above them. Avalanche.org’s companion-rescue equipment guidance identifies the essential set as a transceiver, probe and shovel, and stresses that users need to know how to use the complete system.
Transceiver: worn in transmit mode while travelling, then switched to search mode by rescuers.
Probe: used after the fine search to locate the burial precisely and establish depth.
Shovel: used for excavation, often the longest and most physically demanding part of a companion rescue.
Practise with the exact probe and shovel you plan to carry. Rescue depends on the whole team and the whole kit, not only the screen on a beacon.
How to wear and check your beacon
Wear the transceiver securely on your body in its supplied harness beneath your outermost layer, or in a purpose-built pocket designed for that use. Keep it in transmit mode while travelling. A jacket pocket or backpack is not an equivalent arrangement if it could be lost in a slide.
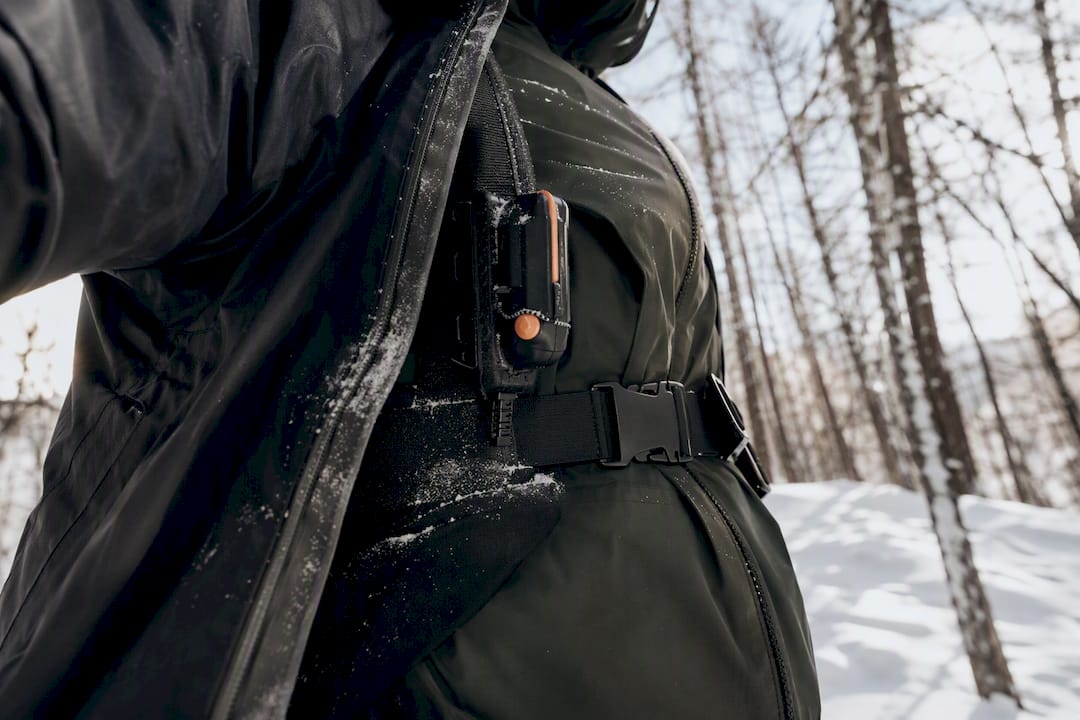
Before entering terrain, run a group transceiver check. Avalanche.org’s trailhead guidance covers battery status, transmit and search functions, range and secure storage. With practice, this becomes an ordinary part of every winter day.
Turn on every unit and review its battery indication.
Make sure each person can transmit and each rescuer can receive a signal in search mode.
Secure harnesses and tethers, then leave all transceivers in transmit mode before moving on.
At Altai Mountains Resort, our guided deep-snow activities include safety-focused training with avalanche awareness and qualified guides. Equipment, briefings and guide arrangements vary by activity and by date.
Keep electronics away from your transceiver
Electronic devices can interfere with a transceiver. During a search, keep phones, radios, cameras, heated gloves and other powered equipment at least 50 cm from the searching unit. In transmit mode, keep such devices at least 20 cm away, and switch off unnecessary electronics. The distinction is explained in Avalanche.org’s electromagnetic-interference guidance.
Snowmobiles and other powered equipment deserve the same care. Keep the search area clear of avoidable electronic interference before relying on a distance or direction reading. This matters for independent touring as well as guided days such as deep-snow snowmobiling in the Western Altai.
How signal, coarse and fine search work
Companion rescue begins before a beacon is switched to search. First assess whether the scene is safe enough to enter, identify the last-seen point if known, organise the group and call emergency services when possible. Avalanche.org’s rescue overview places these actions at the beginning of the response.
Once the group has organised the search, transceiver use usually moves through three stages:
Signal search: cover the likely burial area systematically until the first signal is received.
Coarse search: follow the device’s distance and directional guidance while maintaining a consistent orientation. Avalanche.org’s coarse-search guidance brings the searcher to roughly 3–5 metres before the next phase.
Fine search: slow down, hold the transceiver close to the snow surface and follow the method taught for your device to locate the lowest distance reading.
Training matters because each model has its own interface and a real avalanche scene is more demanding than a simple practice field. Avalanche transceiver — Wikipedia offers additional background, while a current manufacturer manual remains the right reference for device-specific steps.
How to probe and shovel safely
After the fine-search minimum, use the probing pattern taught in your course or specified for your rescue method. Do not rely on a universal spacing rule copied from another device, course or snowpack. Once a probe strike establishes the location, leave the probe in place as a marker while excavation begins.
Excavation is commonly the most time-consuming stage of a rescue. Excavation is often the slowest part of a rescue is a useful reminder of that reality. Avalanche.org’s strategic-shovelling guidance recommends working from downslope and using a rotating conveyor approach when several shovelers are available. The aim is to build and maintain an efficient excavation platform rather than simply digging vertically at the probe.
When a person is found, follow trained emergency and medical procedures relevant to your location and continue the emergency response.
Multiple burials and beacon practice
Multiple signals call for a calm, systematic search. If your transceiver has a mark or flag function, learn it in practice before needing it outdoors. Multiple-burial methods vary with the device, signal pattern, number of rescuers and scene, so follow the approach taught in a recognised course rather than applying a blanket triage rule.
Regular practice builds familiarity with switching modes, moving through the three search stages, probing and coordinated digging. Begin with a single buried transmitter, then add realistic challenges such as a concealed start, more than one signal and group communication. Facilities with permanently buried practice transmitters offer one structured setting for practice; a local avalanche organisation or course provider can help you choose an appropriate option.
For a further skills overview, Avalanche transceivers — REI expert advice and Beacon practice — Utah Avalanche Center provide supplementary reading. Treat them as preparation for practical instruction, not as a replacement for it.
Avalanche beacon FAQ
What frequency do avalanche beacons use?
Modern avalanche transceivers use 457 kHz, allowing compatible units from different manufacturers to communicate. Avalanche provides further background on transceivers and rescue equipment.
Do I need a probe and shovel if I carry a beacon?
Yes. The beacon finds a signal, the probe helps locate the person precisely, and the shovel is needed for excavation. Carry and practise with all three.
How often should I practise?
Practise regularly during the season and refresh your skills before returning to avalanche terrain after a break. No single schedule replaces competent, hands-on training and repetition.
Should beginners choose a two- or three-antenna beacon?
A current three-antenna transceiver is a practical beginner preference because modern devices commonly use three antennas and directional distance guidance. Choose a model you understand, then learn its exact functions through its manual and supervised practice.
When should I replace an old beacon?
Follow the manufacturer’s inspection, servicing and retirement advice for the exact model. General suggestions such as replacement around every five years should never override the manufacturer’s instructions or a device that is damaged, unreliable or no longer supported.
Prepare before travelling in avalanche terrain
A transceiver, probe and shovel belong to a larger set of decisions: avalanche education, a sensible route plan, a reliable group and the willingness to turn around. If you are considering winter activities in Ridder, explore our cat-skiing and freeriding options. Our booking team can also help you understand the current arrangements for your chosen activity, so you can arrive ready for a considered day in the mountains.
All Articles

A practical Siberian cuisine guide to Restaurant Altai, East Kazakhstan dishes, dietary requests and Ridder Lodge accommodation rates.
Practical ski locker etiquette for shared storage: keep equipment tidy, use boot dryers fairly and follow the rules in your drying room.
Plan a heli-accessed splitboard trip with practical guidance on formats, costs, rescue readiness, personal kit and Altai Mountains Resort options.
Explore Kazakhstan winter culture through holiday traditions, food, living heritage, regional rhythms and practical etiquette for visitors.
A practical luxury ski packing list for fitted essentials, lighter luggage and guided off-piste or heli-ski days at Altai Mountains Resort.

A practical heli-skiing safety guide for expert skiers, covering operator decisions, avalanche equipment, helicopter procedures, rescue planning and insurance.
Compare lift-assisted, touring and Western Altai ski options in Kazakhstan, with practical safety, travel and booking guidance.

Learn the heli-skiing skill level typically expected, the off-piste skills to practise, safety preparation and an adaptable 8–12-week training framework.

Plan the Kazakhstan skiing season with a practical comparison of Almaty and Ridder, month-by-month timing, mountain safety and trip planning.
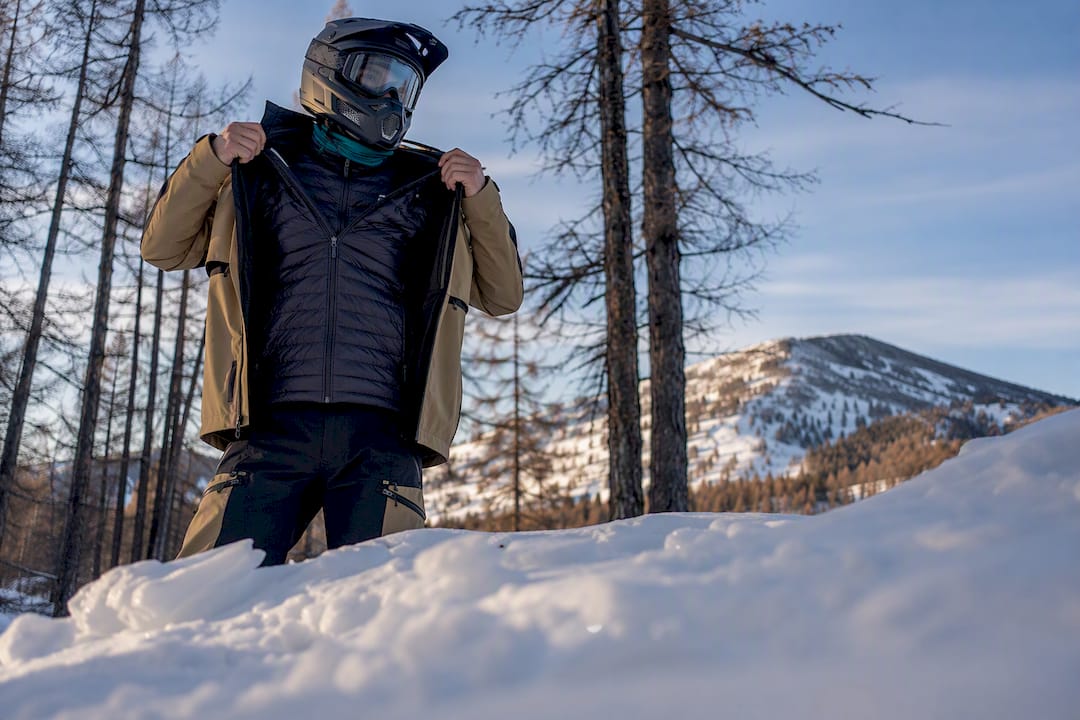
Use this snowmobile layering guide to build a flexible base, insulation and shell system, manage moisture and pack dry spares for changing conditions.

Learn what to rent for avalanche terrain, how to prepare a beacon, probe and shovel, and what to know about airbag packs and flights.
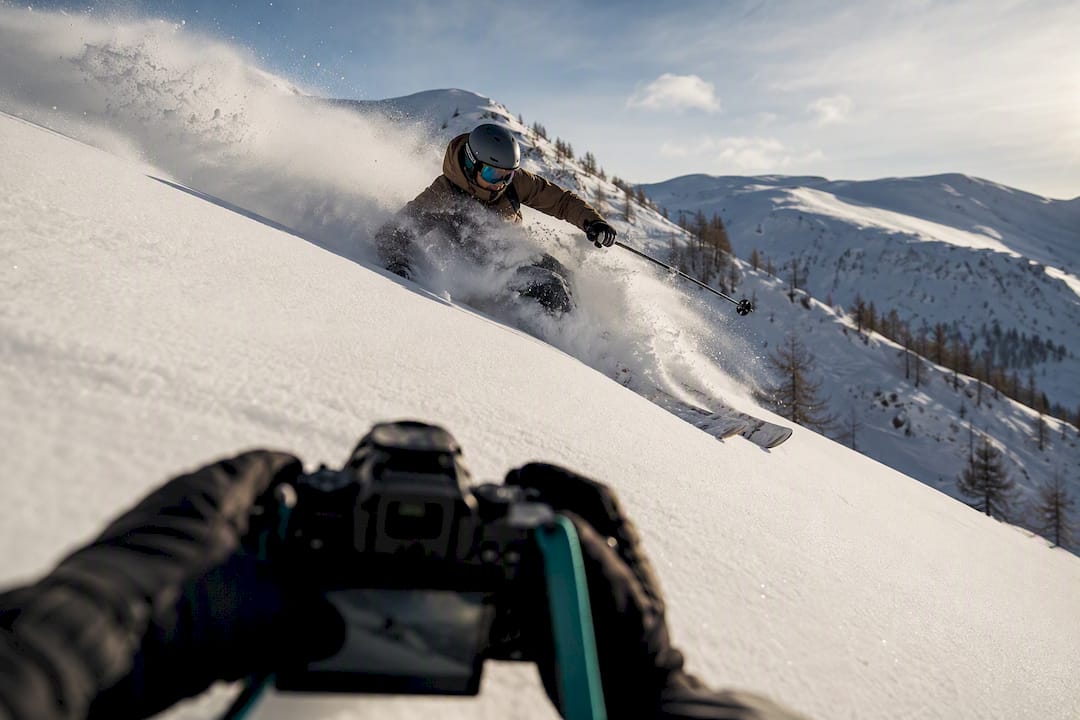
Practical ski photography tips for beginners: camera settings, snow exposure, timing, cold-weather camera care and safe mountain positioning.

Learn how to read an avalanche forecast, interpret danger ratings, roses and avalanche problems, and plan more conservative terrain choices.
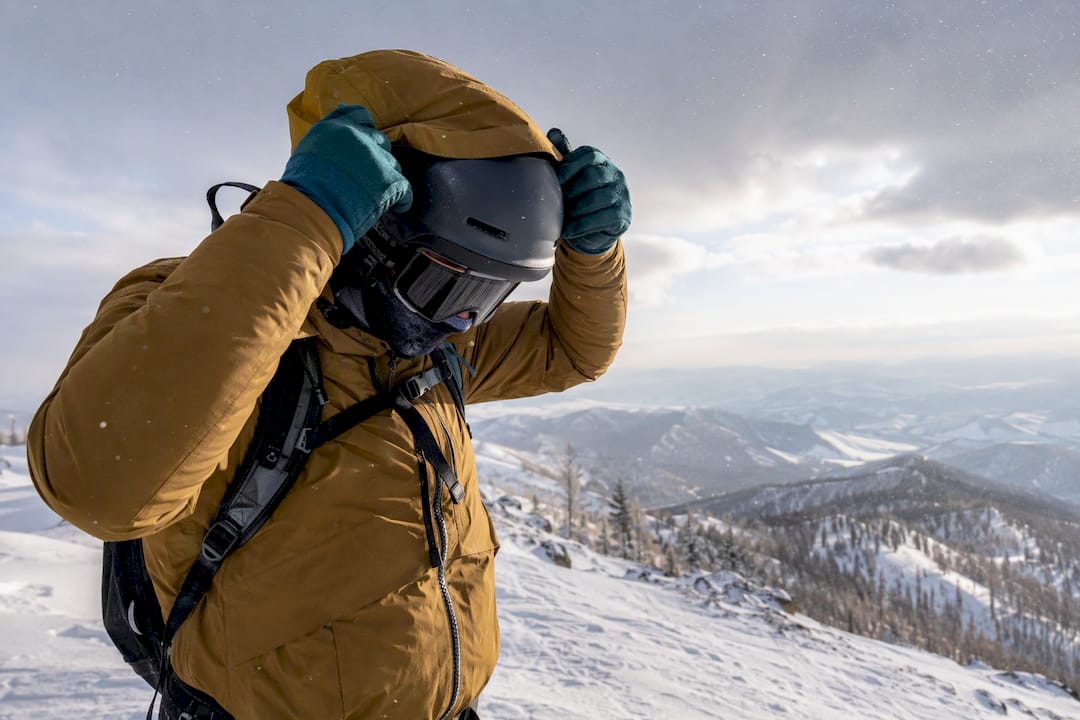
Practical cold injury prevention for winter travel: layering, dry spares, warning signs, first aid and planning for mountain activities.
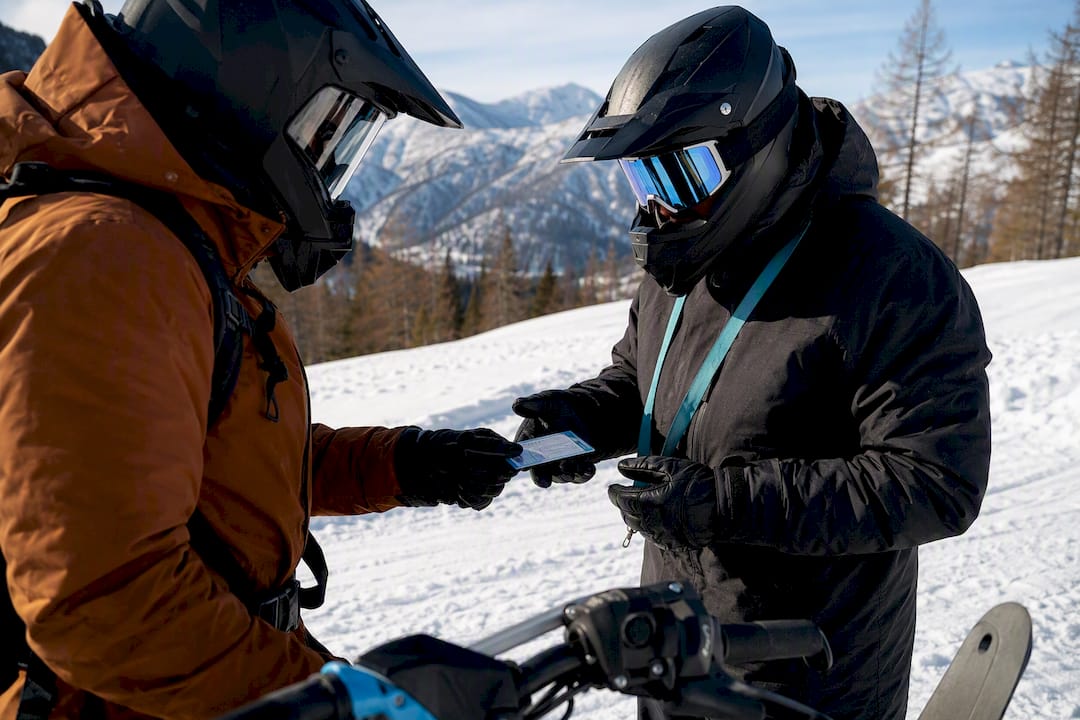
Planning snowmobiling in Ridder? Understand how experience, training, equipment and Kazakhstan rules shape your trip with Altai Mountains Resort.
Travel with ski gear confidently: carry boots when cabin rules allow, pack skis securely, understand airline baggage rules and prepare for delays.
Build a practical backcountry radio communication plan with party radios, satellite SOS or PLB backup, cold-weather care and regional legal essentials.

Satellite messenger basics for remote Altai trips: compare PLBs and two-way devices, understand SOS limits, and prepare your communications plan.
Avoid ski crowds with flexible dates, midweek skiing, early starts and smarter lift choices. Explore guided off-piste options near Ridder.

Learn how heli-skiing passenger weight and baggage rules differ by operator, with practical packing steps and Altai Mountains Resort booking guidance.
Understand the cat skiing skill level needed for Altai Mountains Resort, with practical guidance on off-piste ability, fitness and avalanche readiness.
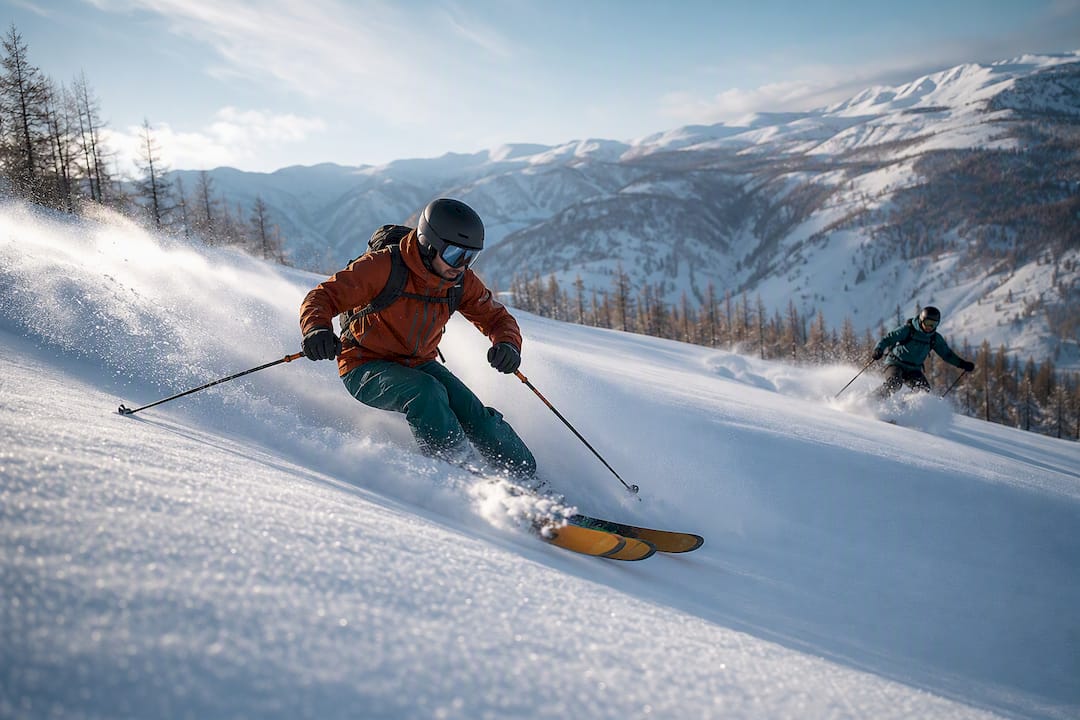
Decide whether Ridder suits your advanced Altai ski trip, with practical guidance on transfers, season timing, avalanche gear and guided programmes.
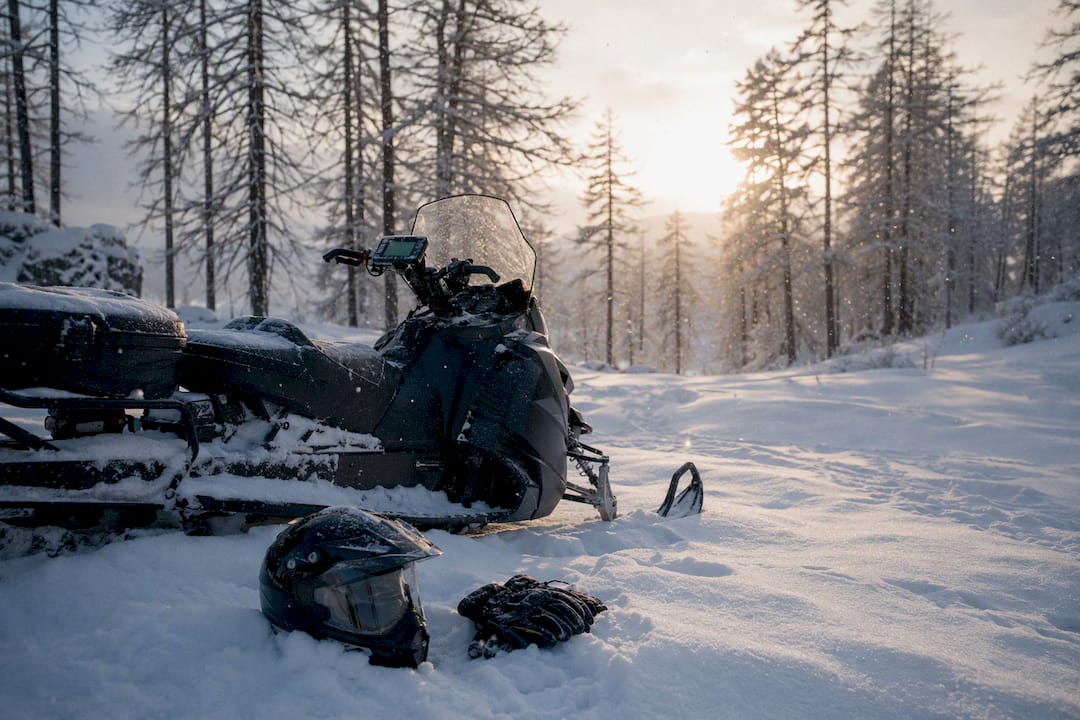
Compare snowmobile tour prices by duration, understand what shapes the final cost, and explore quote-based snowmobiling at Altai Mountains Resort.
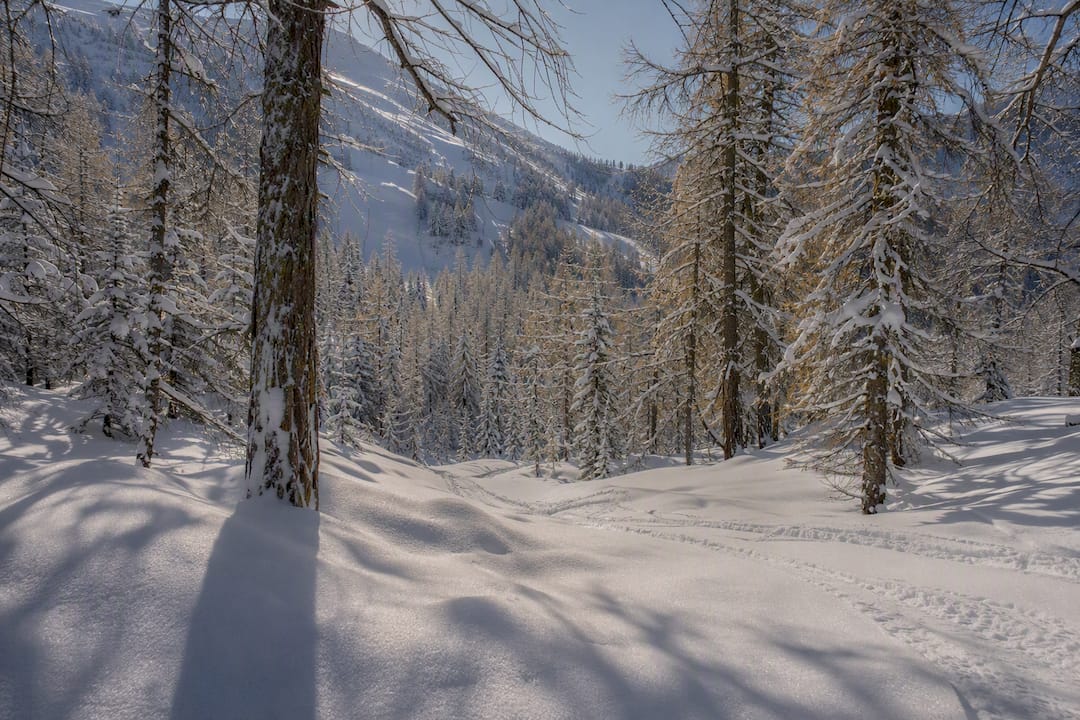
Compare Western Altai, Almaty and Turgen for Kazakhstan powder skiing, with practical guidance on access, safety and Ridder logistics.

Plan Altai heli skiing near Ridder with practical guidance on terrain, season, package inclusions, access, safety gear and booking.
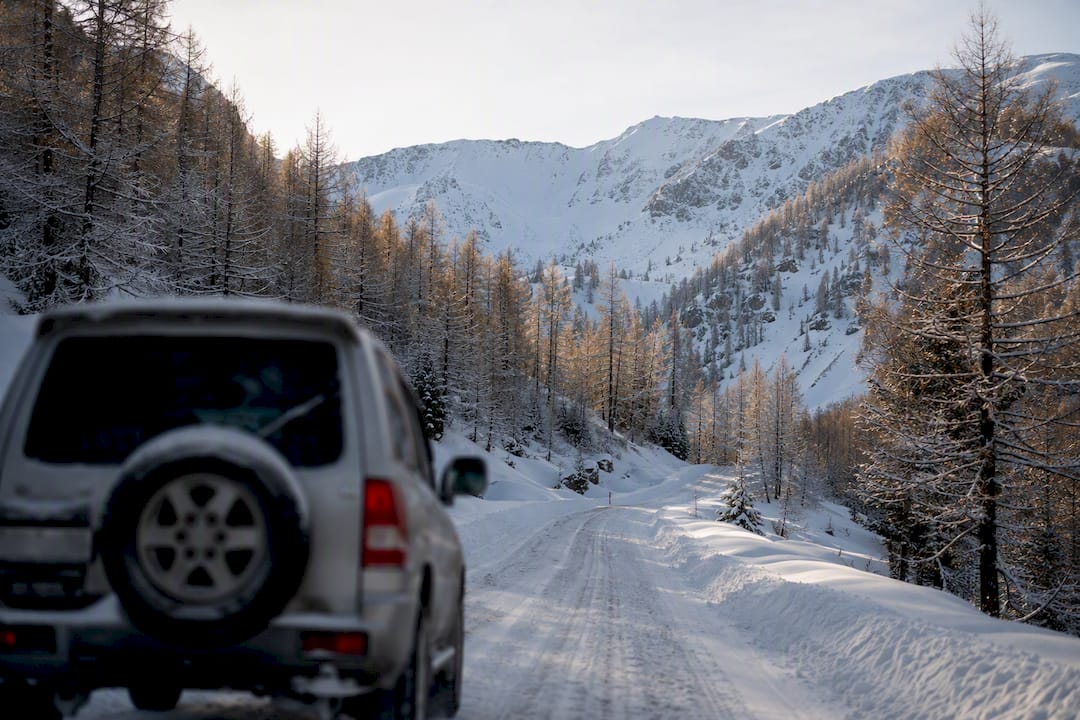
Compare flight, rail and self-drive routes from Almaty to the Kazakh Altai, with practical guidance for reaching Ridder and Ulba village.

Learn deep powder snowmobiling setup, riding technique, safe recovery and avalanche preparation, plus guided training near Ridder.
Plan an Altai Mountains winter stay from Ridder, with activity timing, travel from Öskemen, packing advice and practical mountain guidance.

Practical helicopter passenger safety guidance on boarding, seatbelts, exits, dropped items and following crew instructions.

Practical off-piste slope etiquette for safer skiing: right of way, avalanche preparation, group spacing, closures and guided skiing in the Western Altai.

Plan an Altai Mountains trip across Russian, Mongolian and Kazakh sectors, with permit, safety and winter-stay guidance for Ridder Lodge.
Learn how to plan guided freeride tours, from off-piste experience and avalanche gear to guide scope, changing mountain conditions and cat-skiing in the Altai.
Learn avalanche beacon basics: 457 kHz transceivers, essential rescue gear, trailhead checks, interference and companion-rescue practice.

Learn which avalanche course suits your plans, what companion-rescue skills to practise and how to prepare for a winter trip to Altai.
Learn what cat skiing is, who it suits, what to pack and how to plan a guided cat-skiing trip, including options near Ridder, Kazakhstan.
A practical ski rental Kazakhstan guide to Shymbulak and Medeu, current tariffs, equipment fit, transport and guided freeride near Ridder.

Understand ski guide benefits for freeride and backcountry trips, including local planning, terrain choices, qualifications, safety gear and access options.

Plan a snowmobile expedition near Ridder, Kazakhstan, with practical guidance on routes, rider experience, equipment, mountain safety and transfers.

Use this mountain lodge amenities checklist to compare rooms, meals, wellness access, transfers, activities and paid extras before booking.
A practical Kazakhstan currency guide to the tenge, cards, ATMs, currency exchange, DCC and cash planning for cities and the Western Altai.
Plan the Kazakhstan ski season by month, compare lift-served Shymbulak with guided trips around Ridder, and prepare for changing snow and mountain conditions.
A practical guide to spa after skiing, including gentle massage, sauna and hammam, optional cold immersion and signs that need medical attention.
Plan a remote ski trip from the UK to Ridder, with practical guidance on activities, Kazakhstan entry, Öskemen transfers, insurance and ski baggage.
A practical heli skiing packing list covering clothing, avalanche equipment, ski baggage, batteries, travel documents and rental options.
A practical UK guide to ski boot fitting: appointment steps, services, current provider price examples, aftercare and warning signs.
Should you tip a ski guide? Learn how customs vary, when a gratuity may feel appropriate and how to plan for tipping in Kazakhstan.
An Altai cuisine guide to kan, kurut, chegen and talkan, with dining at Restaurant Altai, food safety and travel from Öskemen to Ridder.
Compare banya vs sauna: heat, steam, venik and löyly rituals, etiquette, health evidence, safety basics and the Altai Banya experience.
Learn how to ski deep powder with centred balance, smooth turns, speed control, practice steps, gear guidance, and avalanche and tree-well precautions.

Plan a mountain wellness retreat in Ridder with freeride, heli-skiing, snowmobiling, Ridder Lodge, Altai Banya and practical winter travel guidance.

A practical snowmobile gear list for UK travellers heading to Altai Mountains Resort, with clothing, safety equipment, battery and travel guidance.

Understand Ridder Lodge’s ski-in/snowmobile-out access, guided ski-day logistics, transfers from Öskemen and practical planning for your stay.
Prepare for a guided snowmobile ride with a practical gear checklist covering helmets, winter layers, avalanche equipment and cold exposure in Ridder.

A practical heli skiing guide to ability, avalanche equipment, packing, weather and planning your first trip to Kazakhstan.
Plan guided deep snow snowmobiling in Ridder, with practical details on training, rentals, equipment, transfers and staying at Ridder Lodge.
How to choose Kazakhstan travel insurance for heli-skiing, cat-skiing or snowmobiling, including medical treatment and evacuation cover.
Kazakhstan visa requirements for UK visitors to Ridder, including visa-free limits, e-visas, passport rules, airports and Öskemen transfers.
Build strength, balance and endurance before cat-skiing, heli-skiing or snowmobiling with an adaptable six-to-eight-week ski fitness program.

Explore cold plunge benefits for skiers, from short-term soreness and recovery evidence to cold-shock risks, timing and Altai Banya options.

Understand heli skiing cost in 2026 with current operator examples, a total-budget checklist, and key booking, safety and insurance questions.